Set Specific Directions
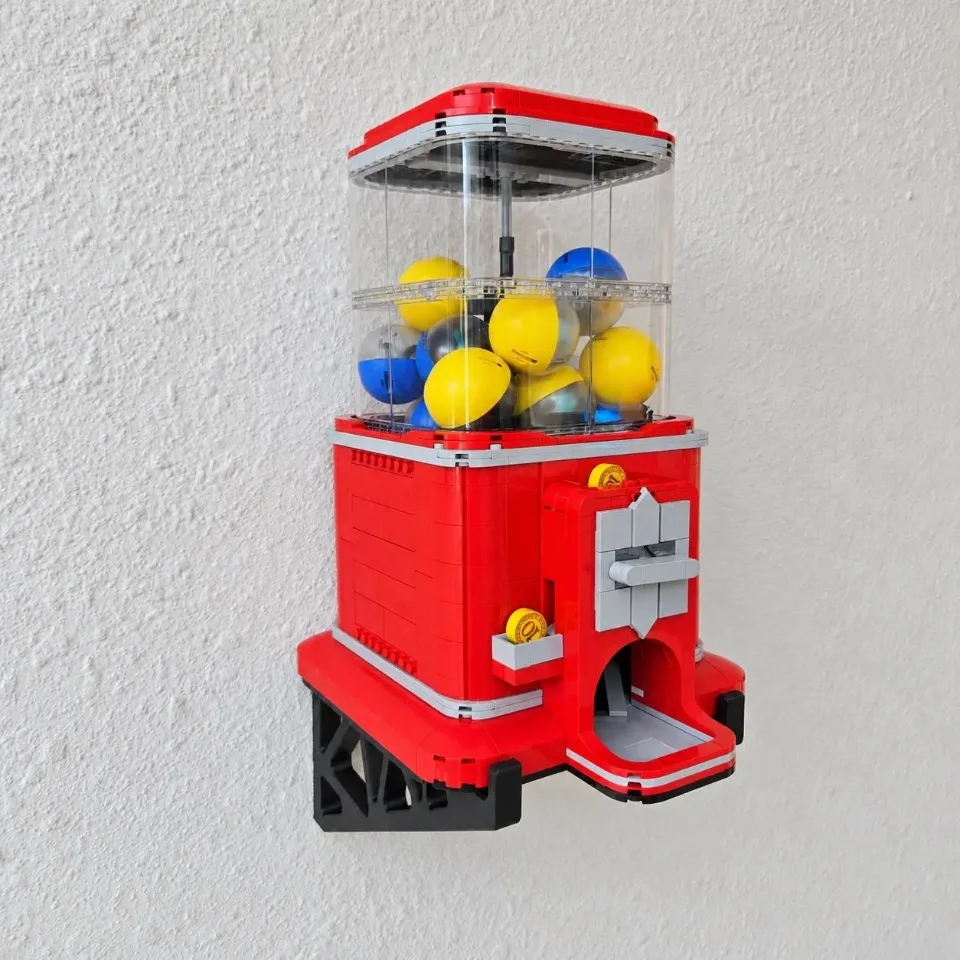
Wall Mount for LEGO® Minifigure Vending Machine (21358)
Follow the animation for your supplied mount. Bracket spacing in the animation is illustrative; check the actual support positions against your set before marking the wall.
Reference 21358
Before you start
Tools needed
- Level, pencil, screwdriver, tape measure, and a drill and bit suitable for your wall hardware.
Parts & hardware
- 4 wall screws and suitable anchors, plus the supplied set-specific mount.
Identify the support positions
Use every supplied support and orient it as shown. Check the contact areas against the set’s underside and measure their actual spacing. The animation is an assembly illustration, not a drilling template.
Mark the wall
Hold the empty mount or supports in their checked positions, keep their support surfaces aligned and mark all 4 wall holes. Leave clearance for the full model and for lifting it on and off.
Prepare the wall
Check for concealed wiring and pipes. Prepare each marked hole and fit suitable wall anchors according to the hardware instructions. Seat the yellow anchors flush where used.
Secure the mount
Start every wall screw, recheck alignment, then tighten gradually until snug without bending the printed parts. Check the empty mount for movement before loading it.
Place the set
Support the set from underneath and lower it onto its intended support areas. Check that it is fully seated and stable before releasing your support. Remove the set before adjusting or tightening the mount.