Set Specific Directions
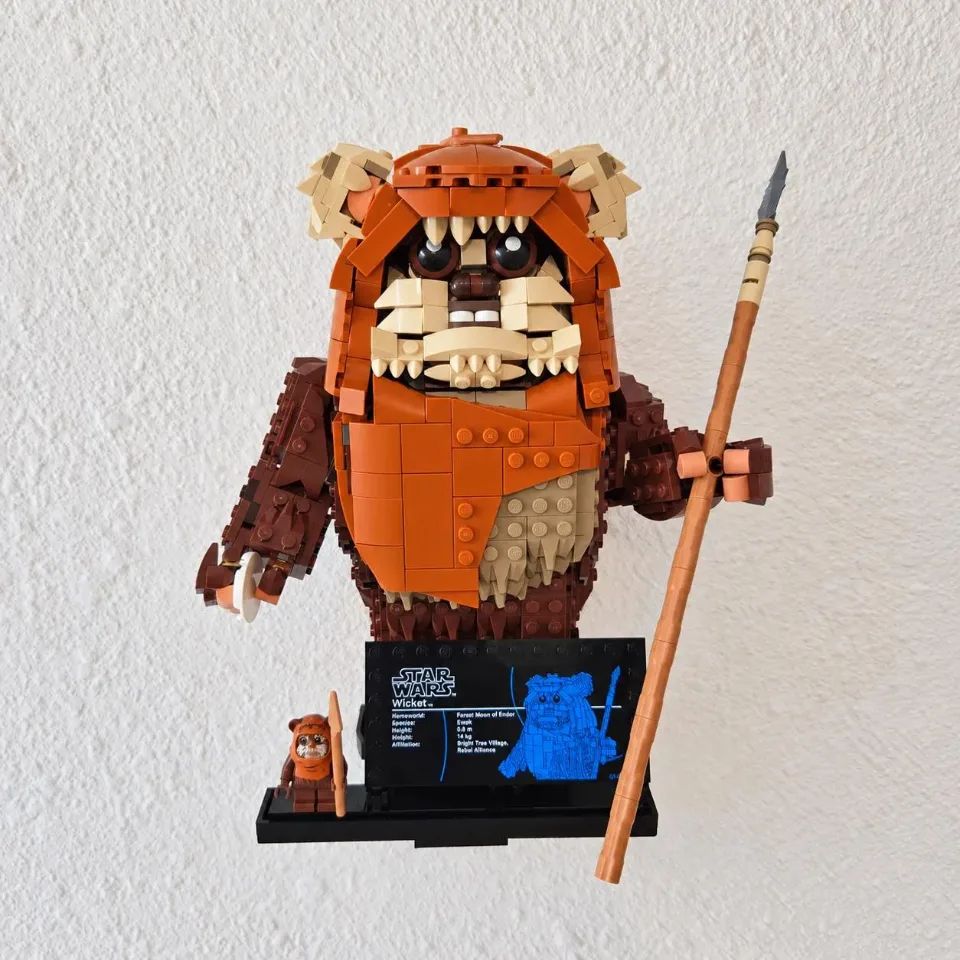
Wall Mount for LEGO® Wicket the Ewok™ (75430)
Assemble the Wicket the Ewok tray with one Wedge bracket before marking the wall. The animation shows the Wedge bracket supplied with this tray.
Reference 75430
Before you start
Tools needed
- Screwdriver with a bit that fits the supplied screws
- Level
- Fine-tip pen or pencil
- Stud finder, if needed
- Drill and drill bit, if needed for your screws or anchors
- Tape measure, if needed
Parts & hardware
- 1 shaped tray for Wicket the Ewok (75430)
- 1 Wedge bracket
- 4 low-profile M3 tray screws and 4 washers
- Wall fasteners for 2 holes, with suitable anchors where required (wall hardware supplied only if ordered)
Check your parts and separate the hardware
Lay out the tray, all supplied brackets, and the included M3 screws and washers before you begin. Check that the tray and brackets match the mount you ordered and that the printed parts are free from visible damage. Keep the assembly hardware and wall-mounting hardware separate: the M3 screws and washers attach the tray to the brackets; the wall screws and anchors secure the assembled mount to the wall. The M3 assembly screws are not substitutes for wall-mounting screws. If you did not order wall hardware, have suitable screws and any required anchors ready before installation. Leave your set off the tray until the mount is fully assembled and securely installed.
Align the empty tray and bracket
The animation shows the Wedge bracket supplied with this tray. Work on a stable surface. Lay out the empty tray and align its recessed screw holes with the pre-installed threaded inserts in the bracket. Check the direction of the flat wall-mounting face against the animation.
Fasten the tray to the bracket before marking the wall
Place a washer in each of the 4 selected tray recesses. Start each low-profile M3 screw through its washer and into the aligned insert. Tighten the screws evenly until snug. Check that the tray is secure before lifting it to the wall.
Level the assembled mount and mark the wall
Allow room to lift the model on and off the tray. Locate studs where practical and check for hidden services before drilling. Hold the fully assembled, empty mount level against the wall, then mark all 2 wall holes through the installed bracket. Set the assembly aside before drilling.
Prepare the wall for screws and anchors
Check that the screws and anchors you plan to use are appropriate for the wall and the completed display. Follow the screw or anchor manufacturer’s instructions for hole size, drilling depth, anchor installation, and screw compatibility. If anchors are required, prepare the marked holes and fit the anchors as directed. For screws going into a stud, prepare any pilot holes required by the screw manufacturer. Check for concealed wiring or pipes before drilling. Keep the mounting-hole locations aligned with the marks you made from the assembled mount. If an anchor spins, a hole is damaged, or a screw or anchor will not hold securely, correct the problem before attaching the mount. Do not rely on tightening harder to repair a loose screw or anchor.
Secure the assembled mount to the wall
Support the empty mount and align each bracket’s wall-mounting holes with the prepared positions. Insert the appropriate wall-mounting screws and start them before fully tightening any one screw. Use all wall-mounting holes required for the supplied brackets. Check the assembly’s alignment, then tighten the wall screws gradually until the brackets are held securely against the wall. Keep the mount supported while tightening. Avoid overtightening or forcing the printed brackets to bend against an uneven surface. Gently check the empty mount for rocking or movement, and check that the tray-to-bracket M3 connections remain secure. Do not pull on the tray or hang extra weight from it as a test. If a bracket moves, a wall screw or anchor loosens, or the tray does not sit as intended, stop and resolve the issue before placing your set.
Seat Wicket the Ewok and check the display
Support Wicket from beneath the base and steady the figure as you lower it onto the tray. Leave clearance for the spear and check that the model is stable before releasing it. If the model rocks or the tray shifts, remove the model and check the fit and fasteners. Support the base again when lifting it off the mount.