Set Specific Directions
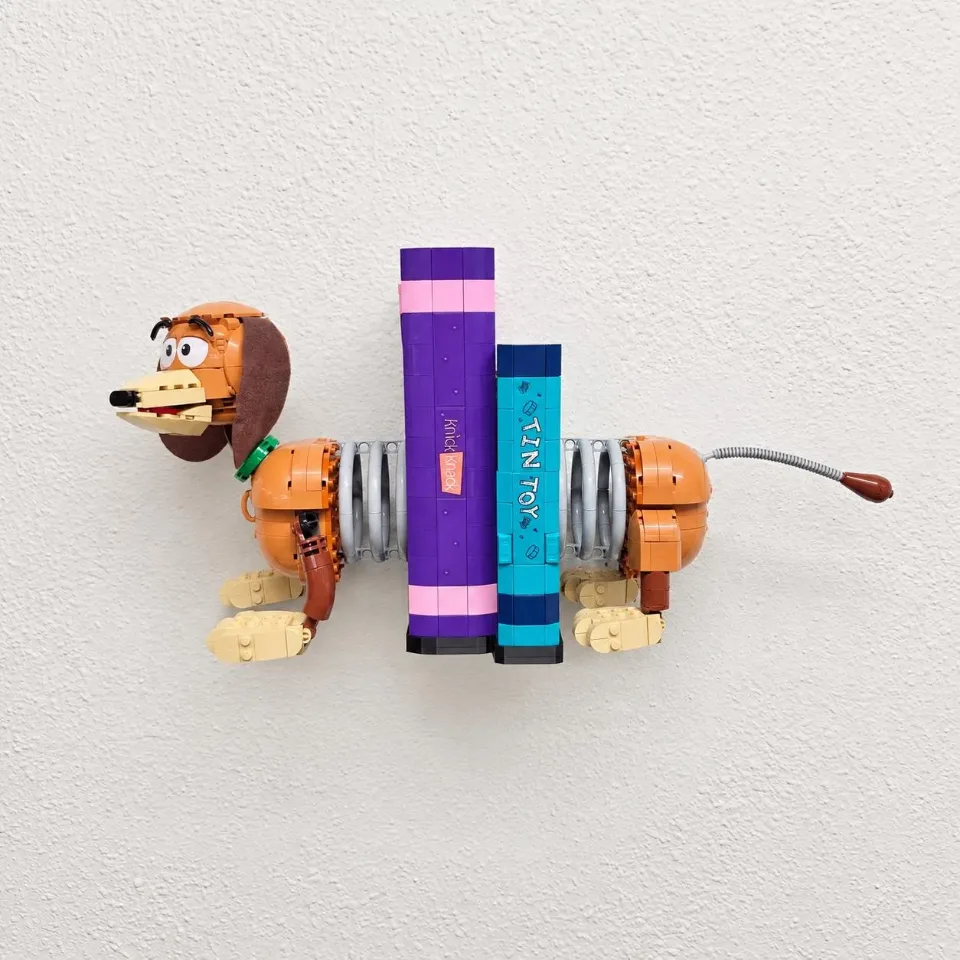
Wall Mount for LEGO® Toy Story Slinky Dog Bookends (43301)
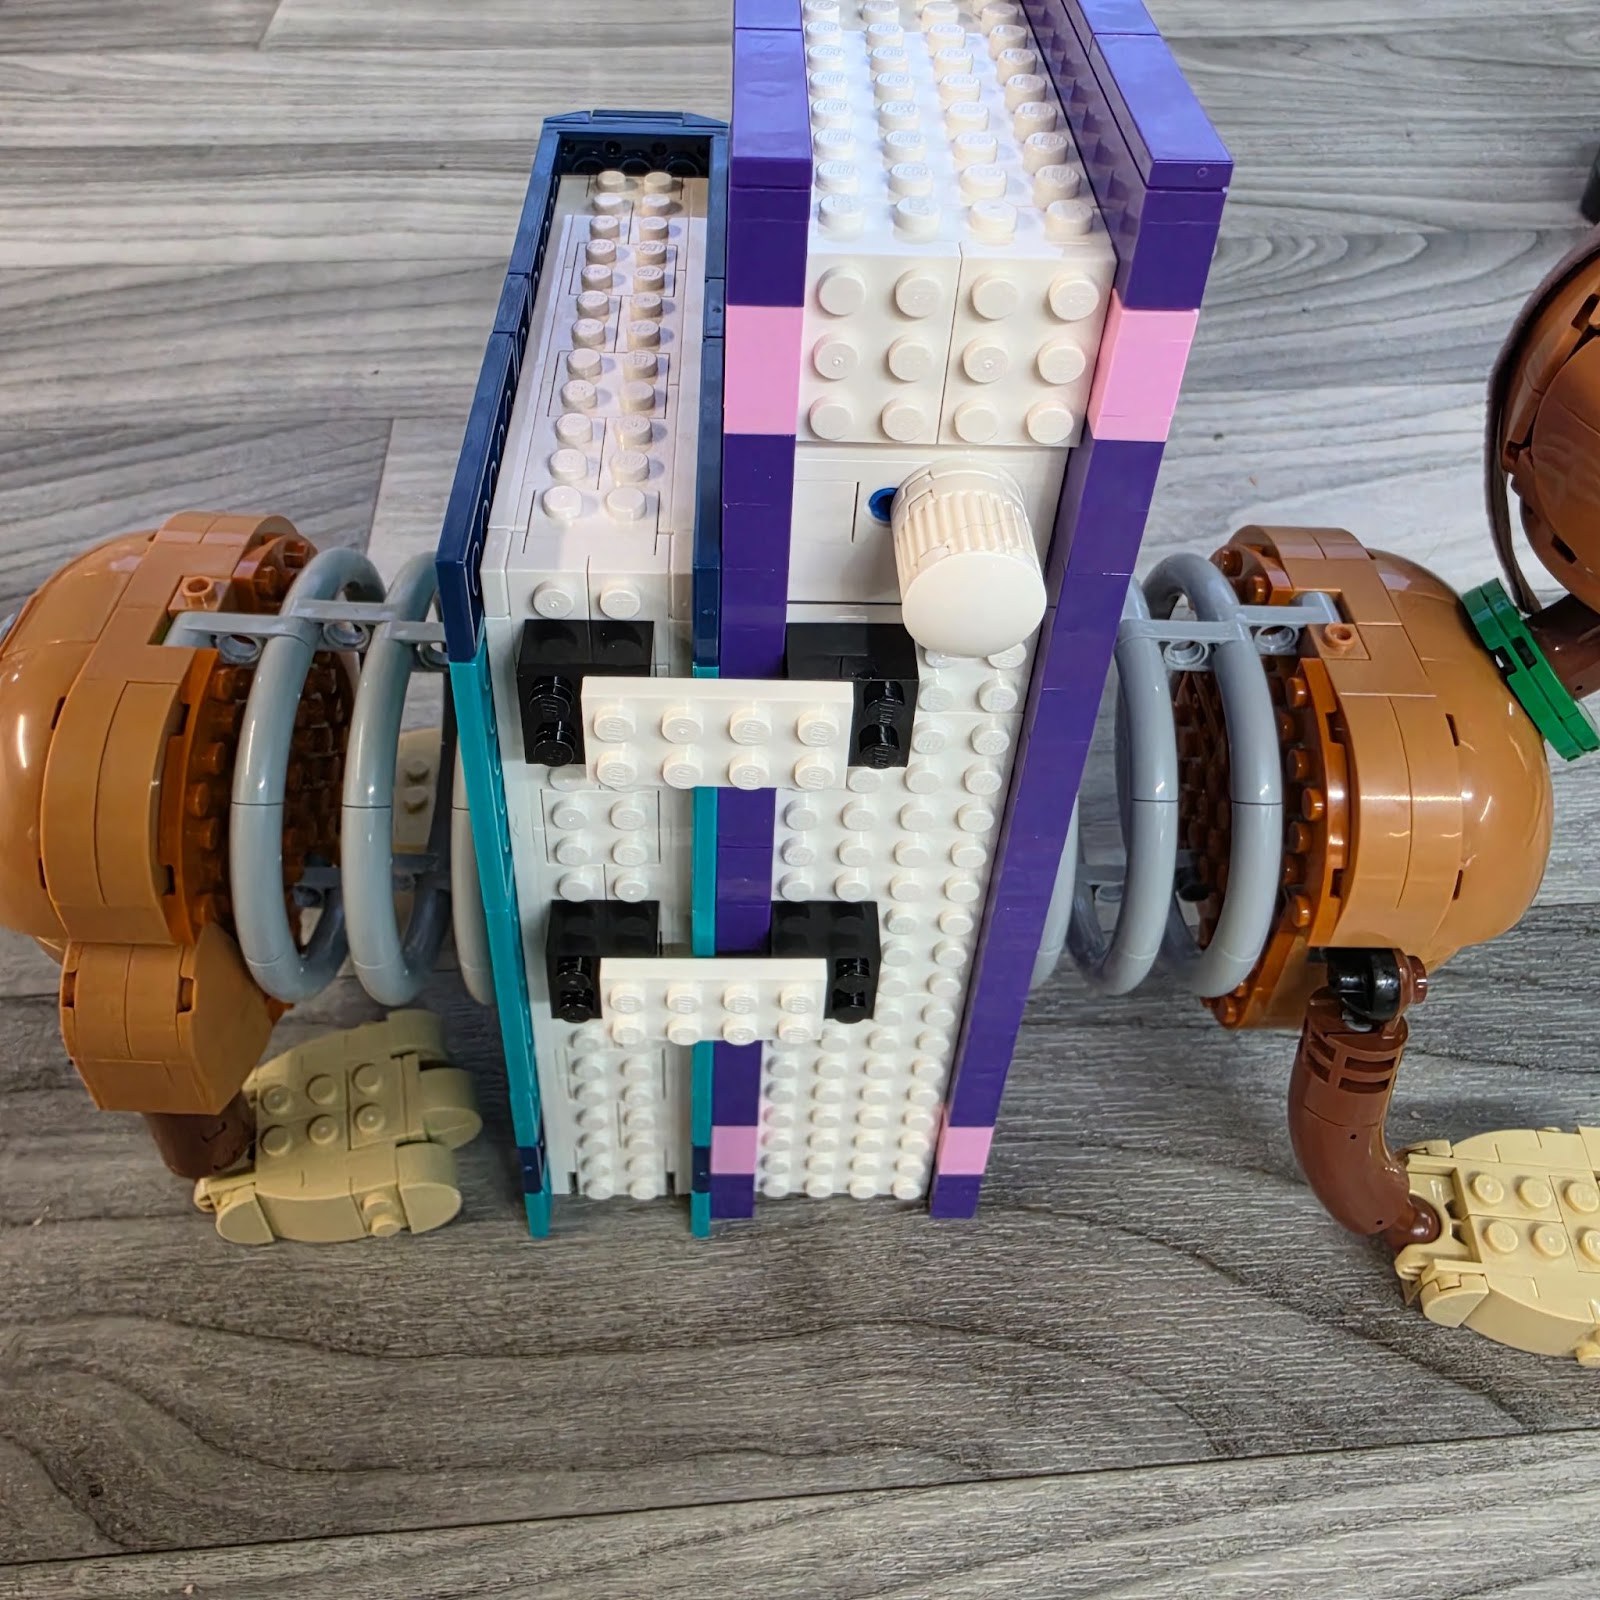
Join the bookends with the supplied pieces, then place the connected set on its installed tray. The underside photo shows the connecting-piece locations.
Reference 43301
Before you start
Tools needed
- Screwdriver
- Level
- Fine-tip pencil
- Tape measure
- Stud finder and drill, if required by your wall hardware
Parts & hardware
- Set-specific tray mount and its assembly parts
- Supplied connecting pieces
- Wall screws and anchors appropriate for your wall (supplied only if ordered)
SOURCE YOUR OWN HARDWARE
Need mounting hardware?
If you did not order mounting hardware with your mount, use the specifications and links below to source the hardware you need.
Screws & Anchors (Yellow)
- Specifications
- 20.0-lb 1/4-in x 7/8-in Push-In Anchors with Screws
Join the bookends
With both bookends supported, fit the supplied pieces at the underside locations shown to join the two halves. Match the positions and check that the pieces are fully engaged before lifting. Do not lift by the spring or decorative parts.
Prepare the tray mount
Assemble the tray and any separate brackets supplied with your order using the matching assembly screws and washers. Start each screw before tightening evenly without distorting the printed parts. If your tray is one piece, no bracket assembly is needed.
Install the tray level
Choose a location with room for the complete set and clearance from nearby objects. Use screws and, where needed, anchors suitable for your wall material and the combined weight of the mount and set. Follow the hardware manufacturer’s instructions for hole size and installation. Check for concealed services before drilling. Hold the mounting part in position, check its alignment with a level, and mark the holes. Use the assembled tray to mark the holes and check the tray surface with a level. Line up the mount with the prepared holes. Start the screws, check the alignment, then tighten gradually with a screwdriver until the mount is firm against the wall. Do not overtighten or bend the printed mounting points. If the mount moves or rocks, correct the installation before adding your set.
Place the connected set on the tray
Support both bookend halves and lift the joined set onto the tray. Check that the base is fully supported and the connecting pieces remain engaged. Do not let the halves hang from their joining pieces while lifting.
Check the finished display
Gradually release your support only after the set is fully seated and stable. Check that the wall mount, adapter, and brick connections remain secure. If anything shifts or loosens, remove the set and correct the problem before displaying it. Support the set whenever you adjust or remove it.