Set Specific Directions
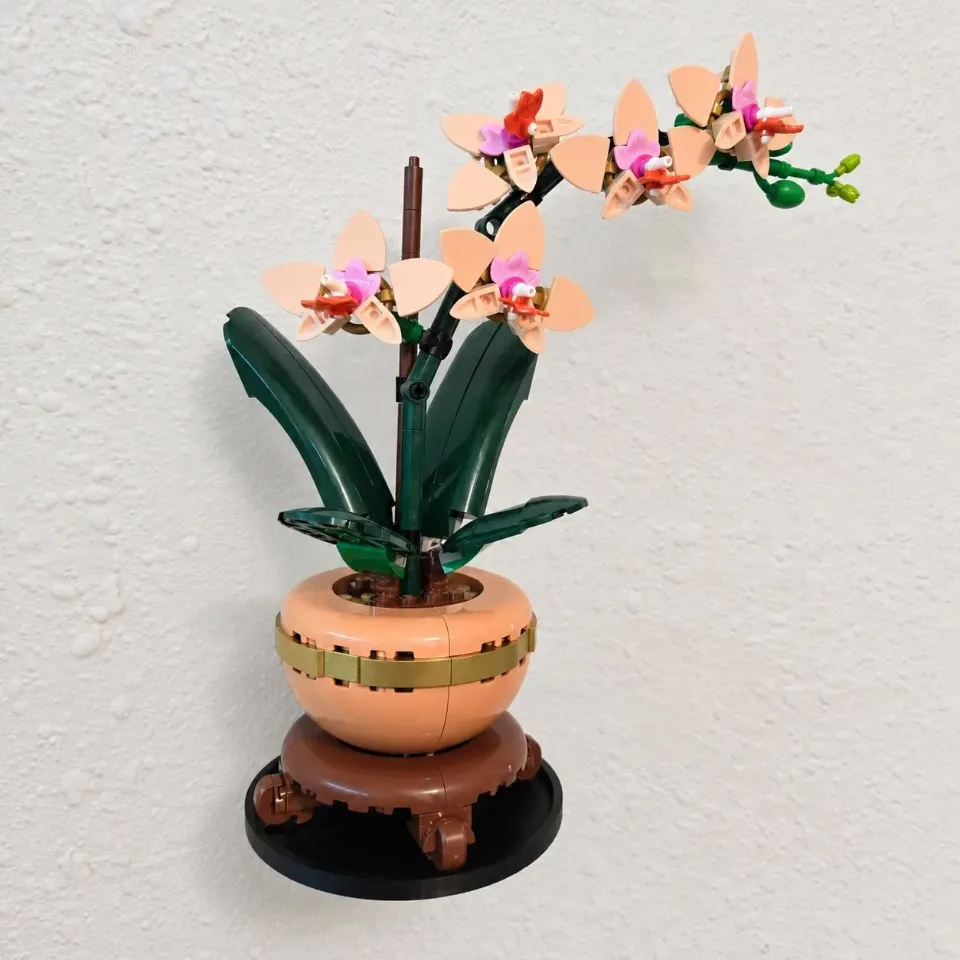
Wall Mount for LEGO® Mini Orchid (10343)
The round tray fits Chrysanthemum (10368), Plum Blossom (10369), Lucky Bamboo (10344), and Mini Orchid (10343).
Reference 10368, 10369, 10344, 10343
Before you start
Tools needed
- Level, pencil, screwdriver, and a drill and bit suitable for the fasteners.
Parts & hardware
- 2 wall screws and, for drywall where required, 2 compatible anchors rated for the wall and loaded display.
Level the empty mount and mark the wall
Hold the back of the empty mount flat against the wall with the platform level. Check clearance for the set and room to lift it on and off. Check for concealed pipes and wiring, then mark both holes through the mounting tab.
Prepare the holes and fasten the mount
Set the mount aside. For drywall anchors, drill at each mark to the size specified for the anchors and press them flush. For a stud, follow the screw manufacturer’s pilot-hole instructions. Align the mount, start each screw, recheck the level and tighten until snug. Check that the empty mount sits firmly against the wall.
Seat the display
Lift the pot by its base and lower it inside the circular rim. Check all around the pot for an even seat before releasing it. If the mount moves or the set rocks, lift the set off and check the fit and fasteners.