Set Specific Directions
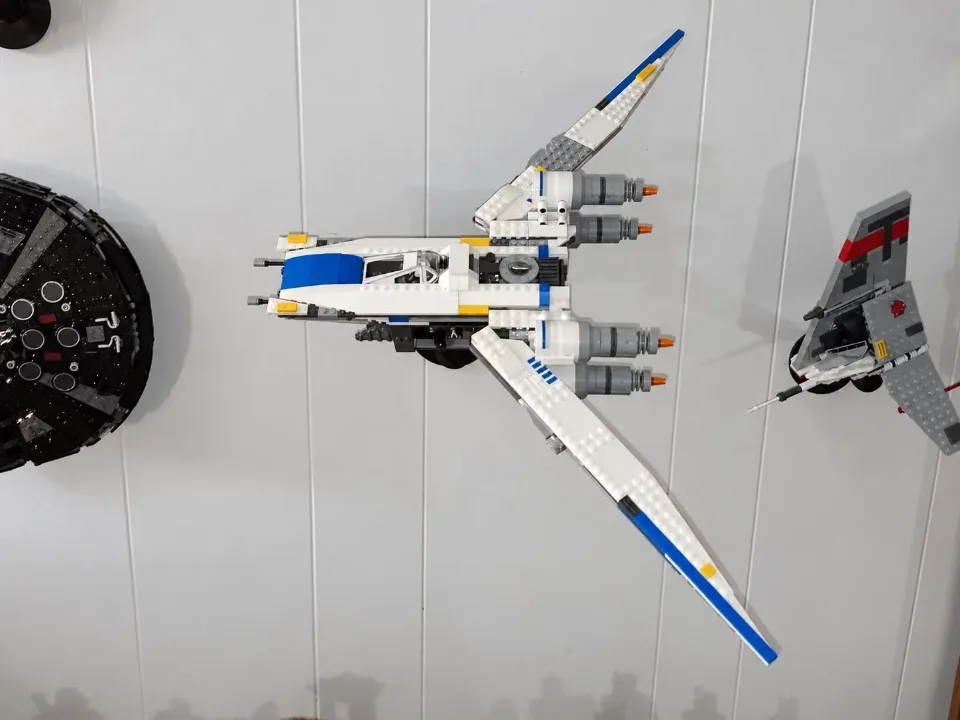
Adjustable Wall Mount for LEGO® Rebel U-Wing Fighter™ (75155)
Install one Heavy Duty arm and fit the supplied 4 × 4 brick top. Follow the animation for this set.
Reference 75155
Before you start
Tools needed
- Screwdriver
- Level
- Fine-tip pen or pencil
- Stud finder (optional)
Parts & hardware
- 1 Heavy Duty arm
- Supplied 4 × 4 brick top and locking collar
- Optional screw covers if supplied
- 4 wall screws and suitable anchors (if ordered)
SOURCE YOUR OWN HARDWARE
Need mounting hardware?
If you did not order mounting hardware with your mount, use the specifications and links below to source the hardware you need.
Screws & Anchors (Yellow)
- Specifications
- 20.0-lb 1/4-in x 7/8-in Push-In Anchors with Screws
SEE IT COME TOGETHER
Watch the installation
 Watch on YouTubeFollow along with the installation ↗
Opens in a new tab so you can keep these instructions handy.
Check the parts and mark the wall
Use the supplied Heavy Duty arm and 4 × 4 brick top. Keep the top and collar aside while securing the wall mount. Hold the empty arm level and mark all 4 holes. Leave clearance for the full model.
Prepare the wall
Check for concealed wiring and pipes. Prepare each marked hole and fit suitable anchors according to the supplied hardware instructions and your wall material.
Secure the arm
Start all wall screws, check alignment, and tighten gradually until snug without bending the printed parts. Check the empty mount for movement before loading.
Fit the tops and collars
Fit the optional screw covers if supplied. Seat the supplied top in each ball socket and thread its locking collar on by hand. Keep the threads aligned and tighten until secure.
Attach the set
Support the model with both hands and place it on its intended supports. Check every connection is fully engaged and the model is stable before releasing your support. Remove the model before moving or retightening the wall mount. Support the weight while making small display-angle adjustments. Use strong structural connections near the balance point; avoid steep or unstable angles.