Set Specific Directions
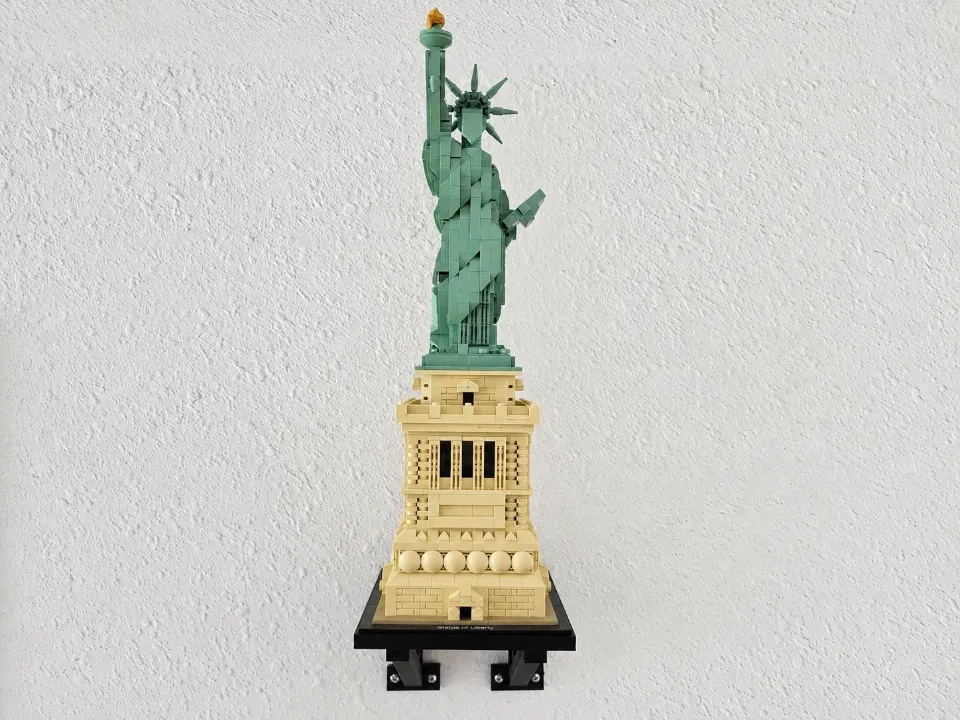
Wall Mount for LEGO® Statue of Liberty (21042)
Install the Statue of Liberty tray using two Large brackets. Rotate the tray 180° into the orientation shown in the animation. The printed “Wall” arrow must point away from the wall. The flat wall-mounting faces of both brackets still face the wall.
Reference 21042
Before you start
Tools needed
- Screwdriver with a bit that fits the supplied screws
- Level
- Fine-tip pen or pencil
- Stud finder, if needed
- Drill and drill bit, if needed for your screws or anchors
- Tape measure, if needed
Parts & hardware
- 1 shaped tray for Statue of Liberty (21042)
- 2 Large brackets
- 4 low-profile M3 tray screws and washers
- Wall fasteners for 8 wall holes and suitable anchors if required (wall hardware included only if ordered)
Orient the tray and align both Large brackets
Rotate the tray 180° into the orientation shown in the animation. The printed “Wall” arrow must point away from the wall. The flat wall-mounting faces of both brackets still face the wall. On a stable surface, align the recessed tray holes with the threaded inserts in the brackets. Keep the set off the tray during installation.
Fasten the tray to the brackets before marking the wall
Place a washer in each of the 4 selected tray recesses. Start each supplied M3 screw by hand through the washer and into its matching insert. Tighten evenly until snug and check that the tray and brackets sit firmly together.
Mark the wall with the assembled mount
Choose a location with room to lift the set on and off. Check for hidden wiring and pipes before drilling. Hold the empty, fully assembled mount level against the wall. Mark all 8 wall holes through the attached brackets, then set the mount aside.
Prepare the wall and secure the mount
Use screws suitable for your wall and the loaded display. Where anchors are needed, follow their instructions for hole size, depth and fit. Hold the assembled mount against the prepared holes, start all wall screws, check the level and tighten until snug. Check the empty tray for movement before loading it.
Seat the set and check the display
Lift the statue from beneath its pedestal and lower the base onto the installed tray. Allow room above the torch and crown. Check that the base sits flat and release it gradually. If the model rocks or the mount moves, support and remove the set before checking the fit and fasteners.